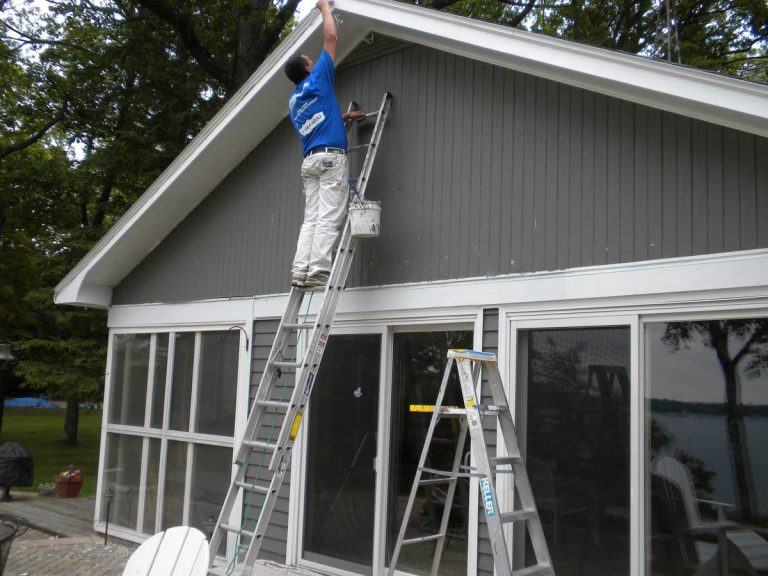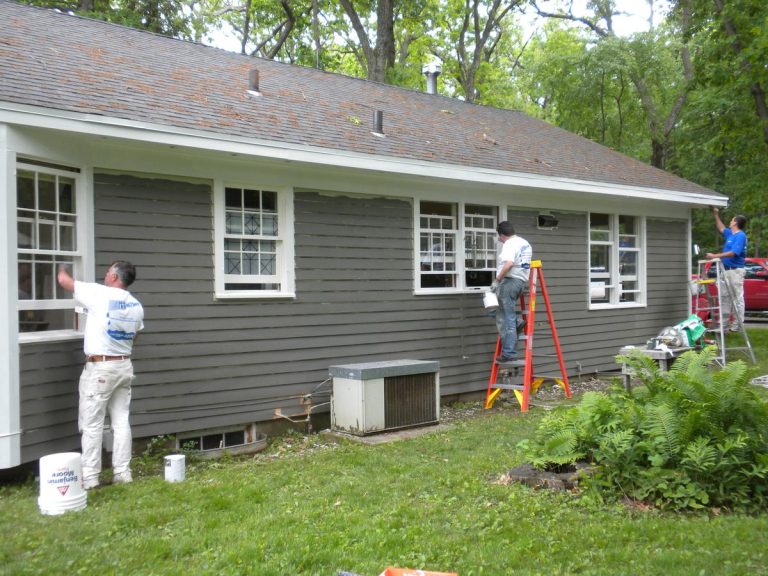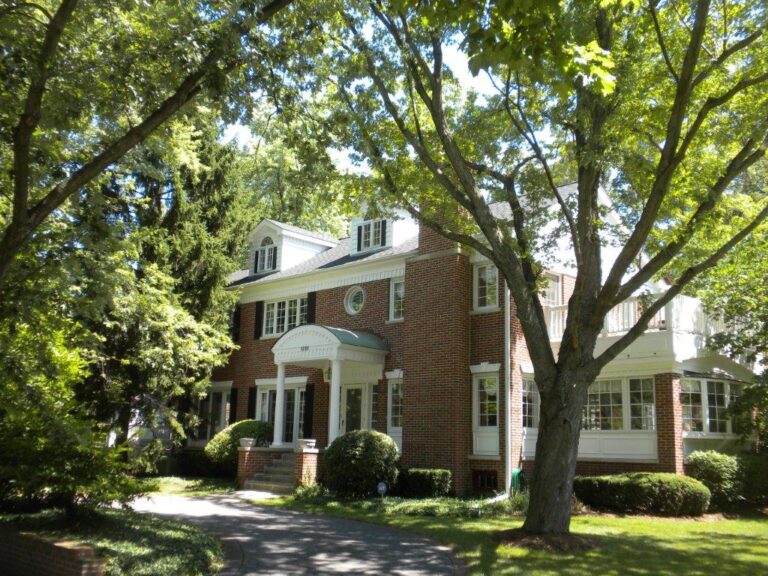

Exterior paint is the only thing between the weather and the wood on most North Shore houses. When it is done right it protects siding, trim, and sills for a decade or more; when a step is skipped it peels in a year and the damage underneath costs far more than the paint job did. This is the checklist we run on every exterior, whether you hire us or do it yourself. The order matters as much as the steps.

Before You Start
1. Walk the house and write down what you find
Go around every elevation with a notepad. Peeling paint, bare wood, cracked caulk, soft spots at sills and column bases, rusted nail heads, mildew on the north wall, gutters overflowing onto the siding. The list is the scope of the job. Peeling in one spot is a finish problem; peeling with soft wood behind it is a water problem, and water problems get fixed before paint or the paint fails again.
2. Check the calendar and the weather rules
Finish coats need the surface and the air above about 50 degrees while they cure, including overnight, and no rain for a day on either side. On the North Shore that is late April to mid-October. Prep tolerates cooler weather than paint does, so prep can start earlier. Read when to book exterior painting for the month-by-month version.
Washing and Prep
3. Wash the house, low pressure
Dirt, chalk, pollen, and mildew stop paint from bonding. Wash with a house-wash cleaner and a low-pressure rinse, top to bottom, keeping the nozzle moving and never aiming up under the siding laps. High pressure drives water into the wall, which then has to dry for days, and it blasts paint chips into the yard, which is a problem on any house built before 1978. Then let the house dry; a day in sun, longer in shade.
4. Kill the mildew, then find why it is there
Green or black spotting on shaded walls is mildew. A diluted bleach or oxygen-bleach wash removes it. Then look at why that wall stays wet: a tree too close, a sprinkler, a downspout, a gutter that overflows. Painting over mildew without fixing the cause means it comes back through the new paint. Quality exterior paints already contain mildewcide; adding more is rarely the answer.
5. Scrape, sand, and feather
Every loose or lifting edge of paint gets scraped off with a sharp scraper until the scraper stops lifting paint. Then the edges are sanded smooth so the transition from old paint to bare wood does not show through the new finish. Chalky surfaces are sanded enough to give the primer something to grip. On pre-1978 homes this is lead-safe work: wet scraping, HEPA sanding, plastic on the ground, daily cleanup. We are certified for it; a homeowner doing it alone needs to follow the same rules.
6. Repair the wood
Soft wood is consolidated with epoxy or replaced; rotted sections of trim and sills come out and primed new wood goes in. Rusted nail heads are set, spot-primed with a rust-inhibiting primer, and filled. Cracks and nail holes are filled with exterior filler and sanded flush. Paint cannot fix any of this, and it hides none of it for long.
Primer and Caulk
7. Prime bare wood the same day you expose it
Bare wood left open takes on moisture and UV damage within days. Spot-prime it the day it is scraped. Primer choice depends on the surface: a stain-blocking oil or alkyd primer on cedar and redwood to stop tannin bleed, a bonding primer on glossy or chalky surfaces and on factory-finished metal and fiber cement, a masonry primer on stucco and block. Prime the whole surface, not just the spots, when the old paint is heavily weathered, when switching from oil-based to latex, or when going from a dark color to a light one. A well-prepared, previously painted surface in good condition can skip full priming; most old houses cannot.
8. Caulk after priming, not before
Cut out failed caulk at window and door perimeters, corner boards, and trim joints, then apply a flexible urethane or elastomeric exterior caulk over primed wood so it bonds. Leave the bottom edges of siding laps and the weep gaps in windows open; sealing them traps water in the wall. Caulk needs its own cure time before paint, usually a day.
Paint and Application
9. Buy the best paint you can, and enough of it
Exterior paint is where saving money costs money. A top-line 100 percent acrylic from a major manufacturer has more and better resin and pigment, covers better, flexes with the wood, and lasts years longer than a budget line. Measure the house, add a margin, and buy it all from one batch so the color matches wall to wall. Never mix brands on the same surface.
10. Match sheen to the surface
Flat or low-sheen on siding hides imperfections and looks richer in deep colors; satin on trim, doors, and shutters wipes clean and defines the edges. Gloss belongs on front doors. Dark colors in high sheen show every lap mark.
11. Apply two full finish coats
Brush and roll, or spray and back-roll, so the paint is worked into the surface rather than laid on top of it. Keep a wet edge and finish a full board or section before stopping, or the lap mark stays forever. Follow the sun around the house so you are never painting a wall in direct sun, which flashes the paint before it levels. Let the first coat dry per the label, then apply the second. One thick coat is not two coats.
12. Paint in the right order
Top to bottom, and body before trim: soffits and fascia, then siding, then windows, doors, and corner boards, then shutters and railings, then the foundation line. Drips land on surfaces that have not been painted yet. Doors and shutters often come off their hinges and get painted flat, which gives a better finish.
Finishing and Keeping It
13. Walk it again
With the ladders still up, walk every elevation looking for holidays, drips, missed sills, and caulk that pulled. Touch up while the color is in hand and the crew is on site. Then clean up: sheeting, chips, masking, and the landscaping put back.
14. Maintain it every year
Wash the house each spring, look at the caulk and the south and west walls, and touch up small failures before they spread. Decks, doors, and sunny trim need a maintenance coat before the siding does. A well-done exterior on the North Shore lasts eight to twelve years on wood siding and longer on fiber cement and masonry; the annual look is what gets you to the long end of that range.
If you would rather not remember any of this, our Exterior Care Plan does the spring wash, inspection, touch-ups, and recaulking for you every year and keeps your workmanship guarantee active.
Choosing the Color
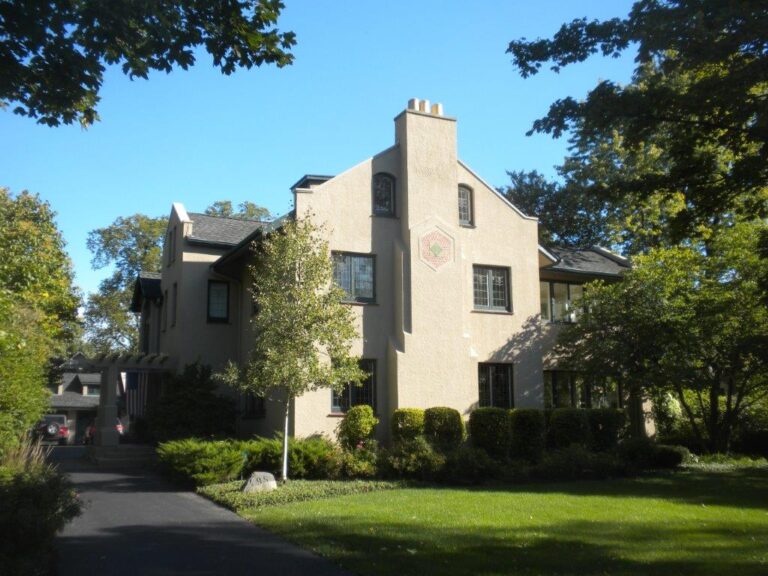
None of this covers the one decision most homeowners spend the longest on. Our guide to exterior paint colors for North Shore homes walks through Tudors, colonials, brick, and cedar, and the paint visualizer lets you test a scheme on a photo of your own house.
DIY or Hire It Out?
A single-story ranch with sound siding is a long but reasonable homeowner project. A two-story house with peeling paint, old windows, or any pre-1978 lead concern is a job for a crew with staging, lifts, lead-safe certification, and the habit of doing the steps in order. Every one of ours is OSHA ladder and scaffold certified, and we have been doing this on North Shore houses since 1969. See our siding, stucco, and cedar painting page for what each surface needs, and how our estimates work for what the visit covers.
Get the Checklist Done for You
Call (847) 564-4880 or request a free estimate. Pete walks the house, writes the scope, and gives you a firm quote and a schedule. We paint exteriors from Northbrook across the North Shore, including Glenview, Winnetka, Wilmette, Evanston, Highland Park, and Deerfield.